Import Photos
Drop a set of photos here or choose them from your files.
Drop a set of photos here or choose them from your files.
Give the whole set a consistent look, then compare each edit with the original.
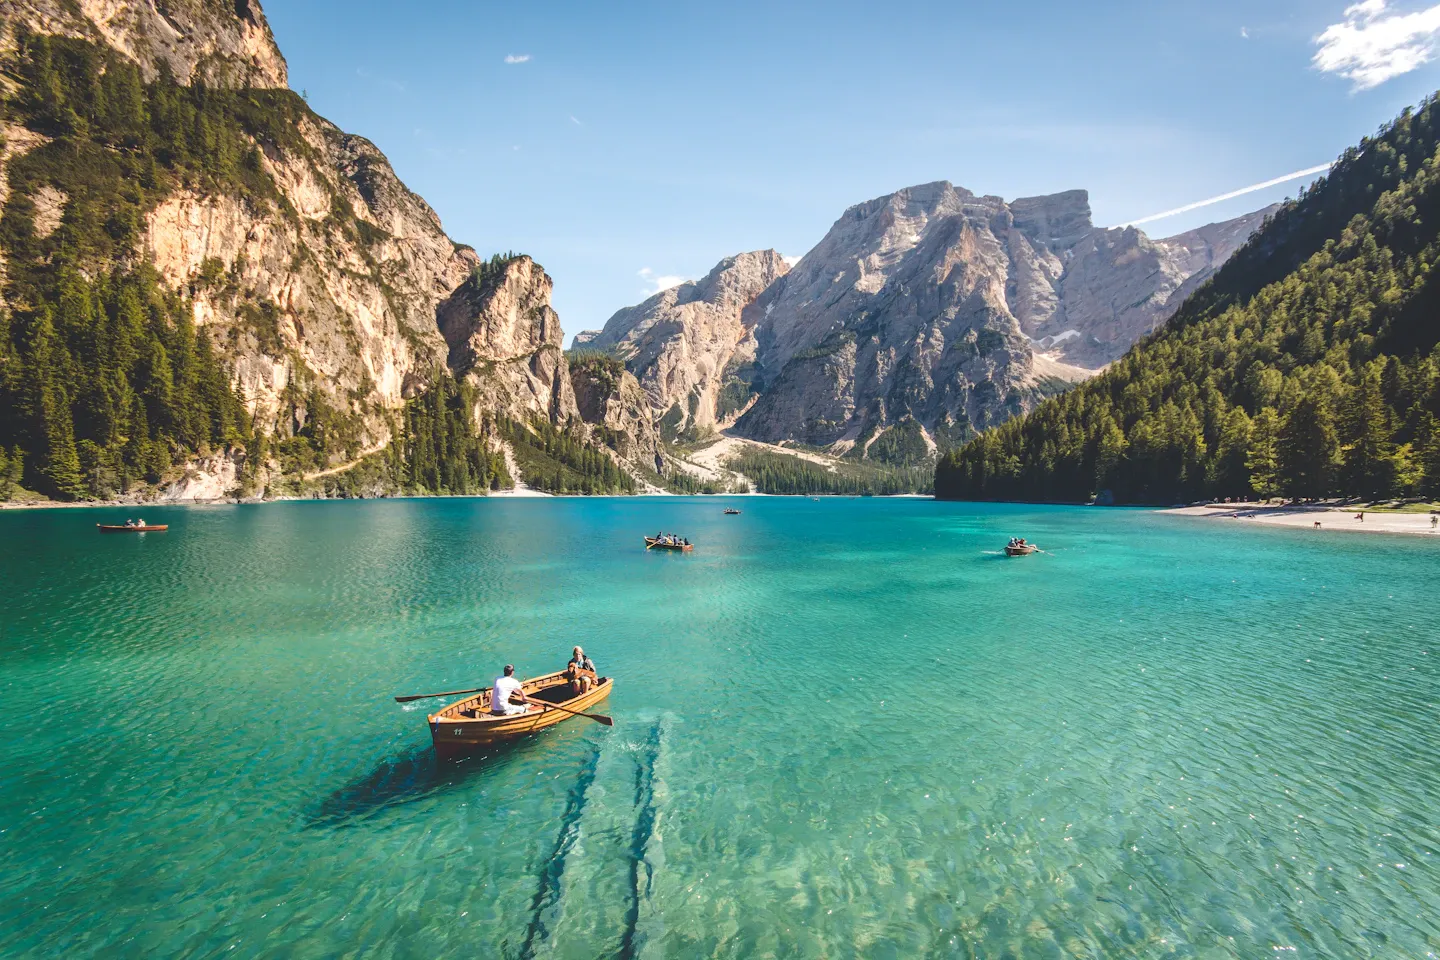 After
Set exposure and contrast for all your photos at once. Select any shot to see how it looks.
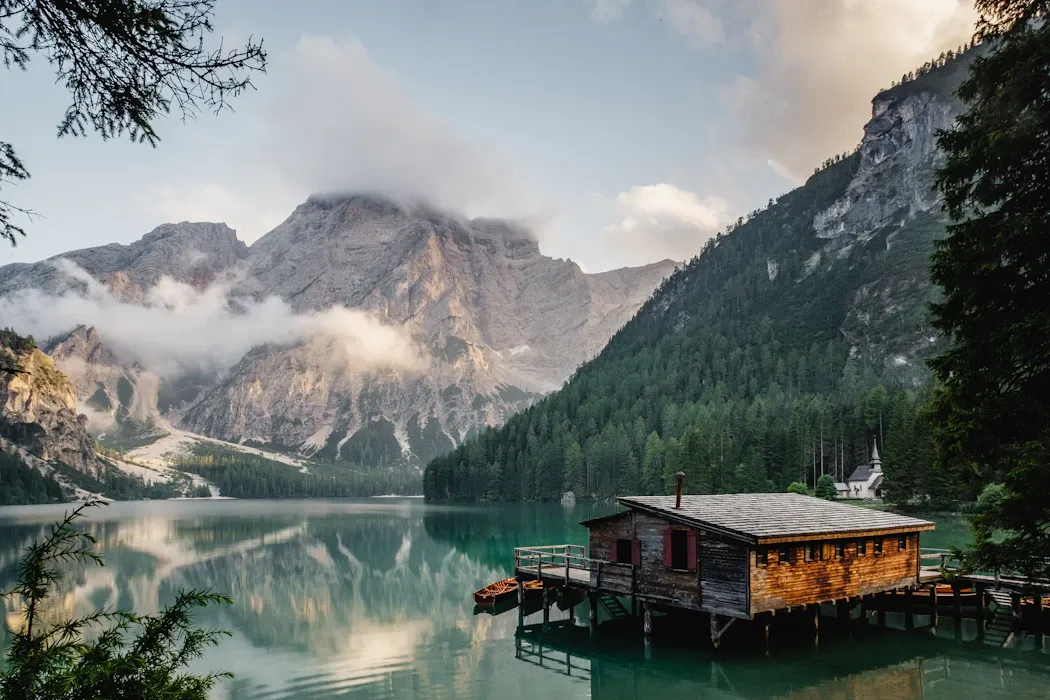
Give the set a shared aspect ratio, then move or resize the crop to suit each photo.
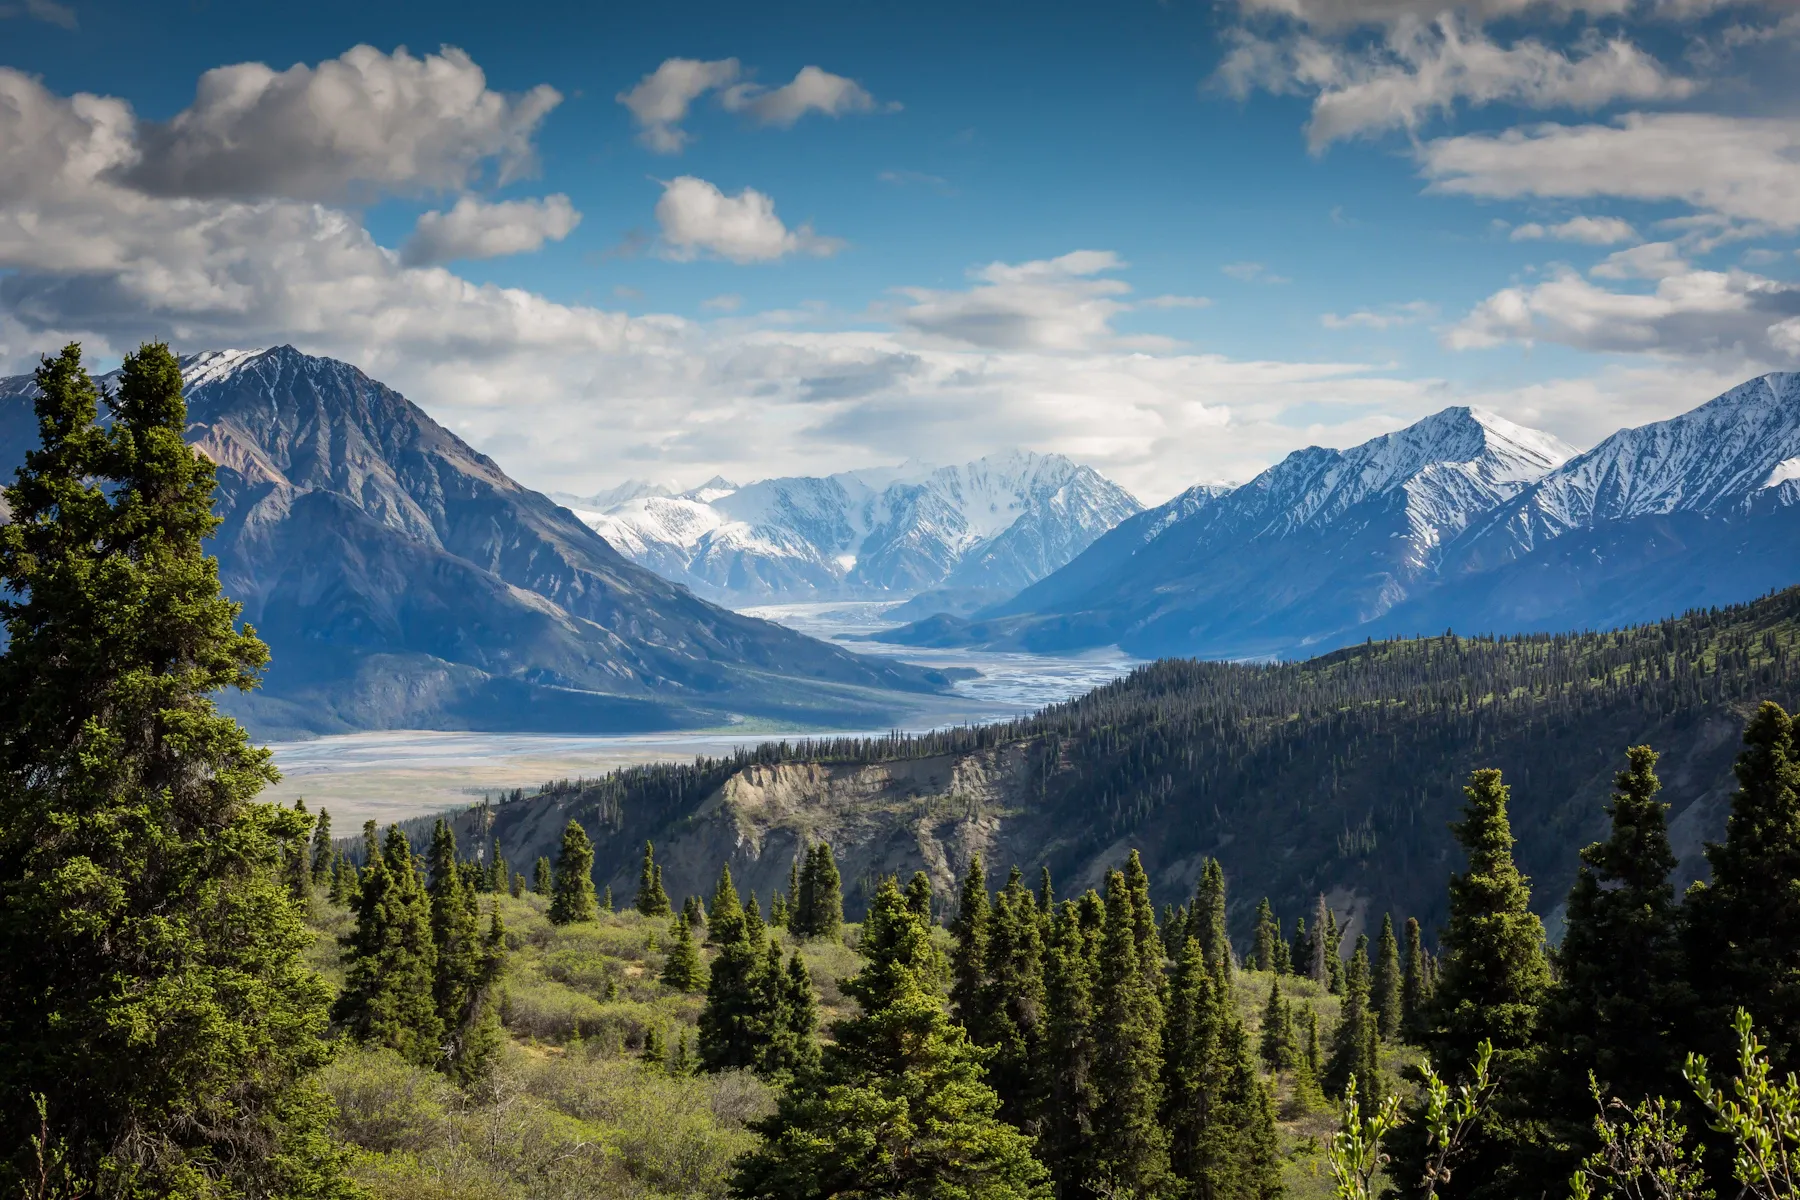
Drag the frame or a corner. You can also use the arrow keys.
Download every finished photo in one ZIP, or save straight to a folder if your browser supports it.
Choose the format and size of your photos before saving them.
FAQ
Find the answer for the step you’re on.
STEP 01
Formats and setup
Drag and drop multiple files or use the import button. Crop accepts JPEG, PNG, WebP, and HEIC/HEIF. It converts HEIC files in your browser so you can edit them like any other image.
Drag and drop files in batches, adjust the number of grid columns, and hide unused sliders in Settings. Use S to compare and C to crop. For precise adjustments, open a photo in the maximized view.
Yes, if the file contains a JPEG preview that Crop can read. You edit and export that preview, not the raw sensor data, so the result may have a lower resolution than the original RAW. If the file won’t open, develop it in a RAW editor and export it as JPEG or PNG before importing it into Crop.
Crop skips unreadable files and files over 50 MiB. Recognized RAW files are an exception: Crop still tries to open them. If a file is skipped, try converting it to JPEG or PNG and, if it’s too large, resize it before importing again.
Crop processes photos in your browser without uploading them to a server. Your editing session isn’t restored if you reload or close the page, so export your edited photos before leaving. Saved presets stay in that browser until you clear the site’s data.
STEP 02
Adjustments, crop and presets
Global sliders apply the same adjustments to every image. Open the controls on one photo to fine-tune it on top of those global adjustments without changing the rest of the batch.
Open the Crop & Rotate panel. Choose an aspect ratio, rotate by 90° or straighten in smaller steps, and flip horizontally. Zoom and drag the crop area to reframe the image.
Press S to toggle split compare, then drag the divider to see the original and edited versions. You can also compare in the maximized view. Use Undo and Redo to check the effect of a single edit.
Copy settings from one photo and paste them onto others. You can copy just the adjustments, include crop and rotation, or copy everything including zoom and position. Save a preset if you want to reuse those settings later.
Open Global Crop & Rotate from the editor toolbar and choose an aspect ratio, such as 4:5. Crop applies it to the whole batch. Then open the crop controls on individual photos to refine their framing. Changing the global ratio again replaces the ratios set on individual photos.
Use the selection button in the top-left corner of each photo. To select a range, select the first photo, then hold Shift while clicking the selection button on the last photo.
Open Settings using the gear icon and enable the sliders you need. Hiding a slider doesn’t reset it: its value is still applied to the photo.
STEP 03
Watermarks and finished files
Open Watermark, enable it, and choose text or an image. Adjust its position, scale, and opacity in the preview. While enabled, Crop applies it to every exported photo.
For the web, choose JPEG or WebP at moderate quality and limit the longest side if you need smaller files. For print or archiving, keep the resolution you need and choose higher quality or PNG.
Select the photos in the grid, open Export, and turn on “Export selected photos only”. The option appears when you’ve selected part of the batch. If you leave it off, Crop exports every photo.
It sets the maximum number of pixels on the longest side after cropping. With a 2048 px limit, a 4000 × 3000 photo becomes 2048 × 1536; smaller photos aren’t enlarged. Choose “Original Size” to skip resizing. Your crop still applies.
Folder export is available only when your browser lets Crop write directly to disk. If it’s unavailable, choose ZIP. Standard ZIP downloads are limited to 512 MiB: if you hit that limit, export smaller groups or use a browser that allows saving directly to disk.
When you choose Folder, Crop saves new copies. If a name is already in use, Crop adds a number to the new file’s name rather than overwriting the existing one.